Soldering STEM Activity Kits
Brought to you by the Electronics Foundation
Overview
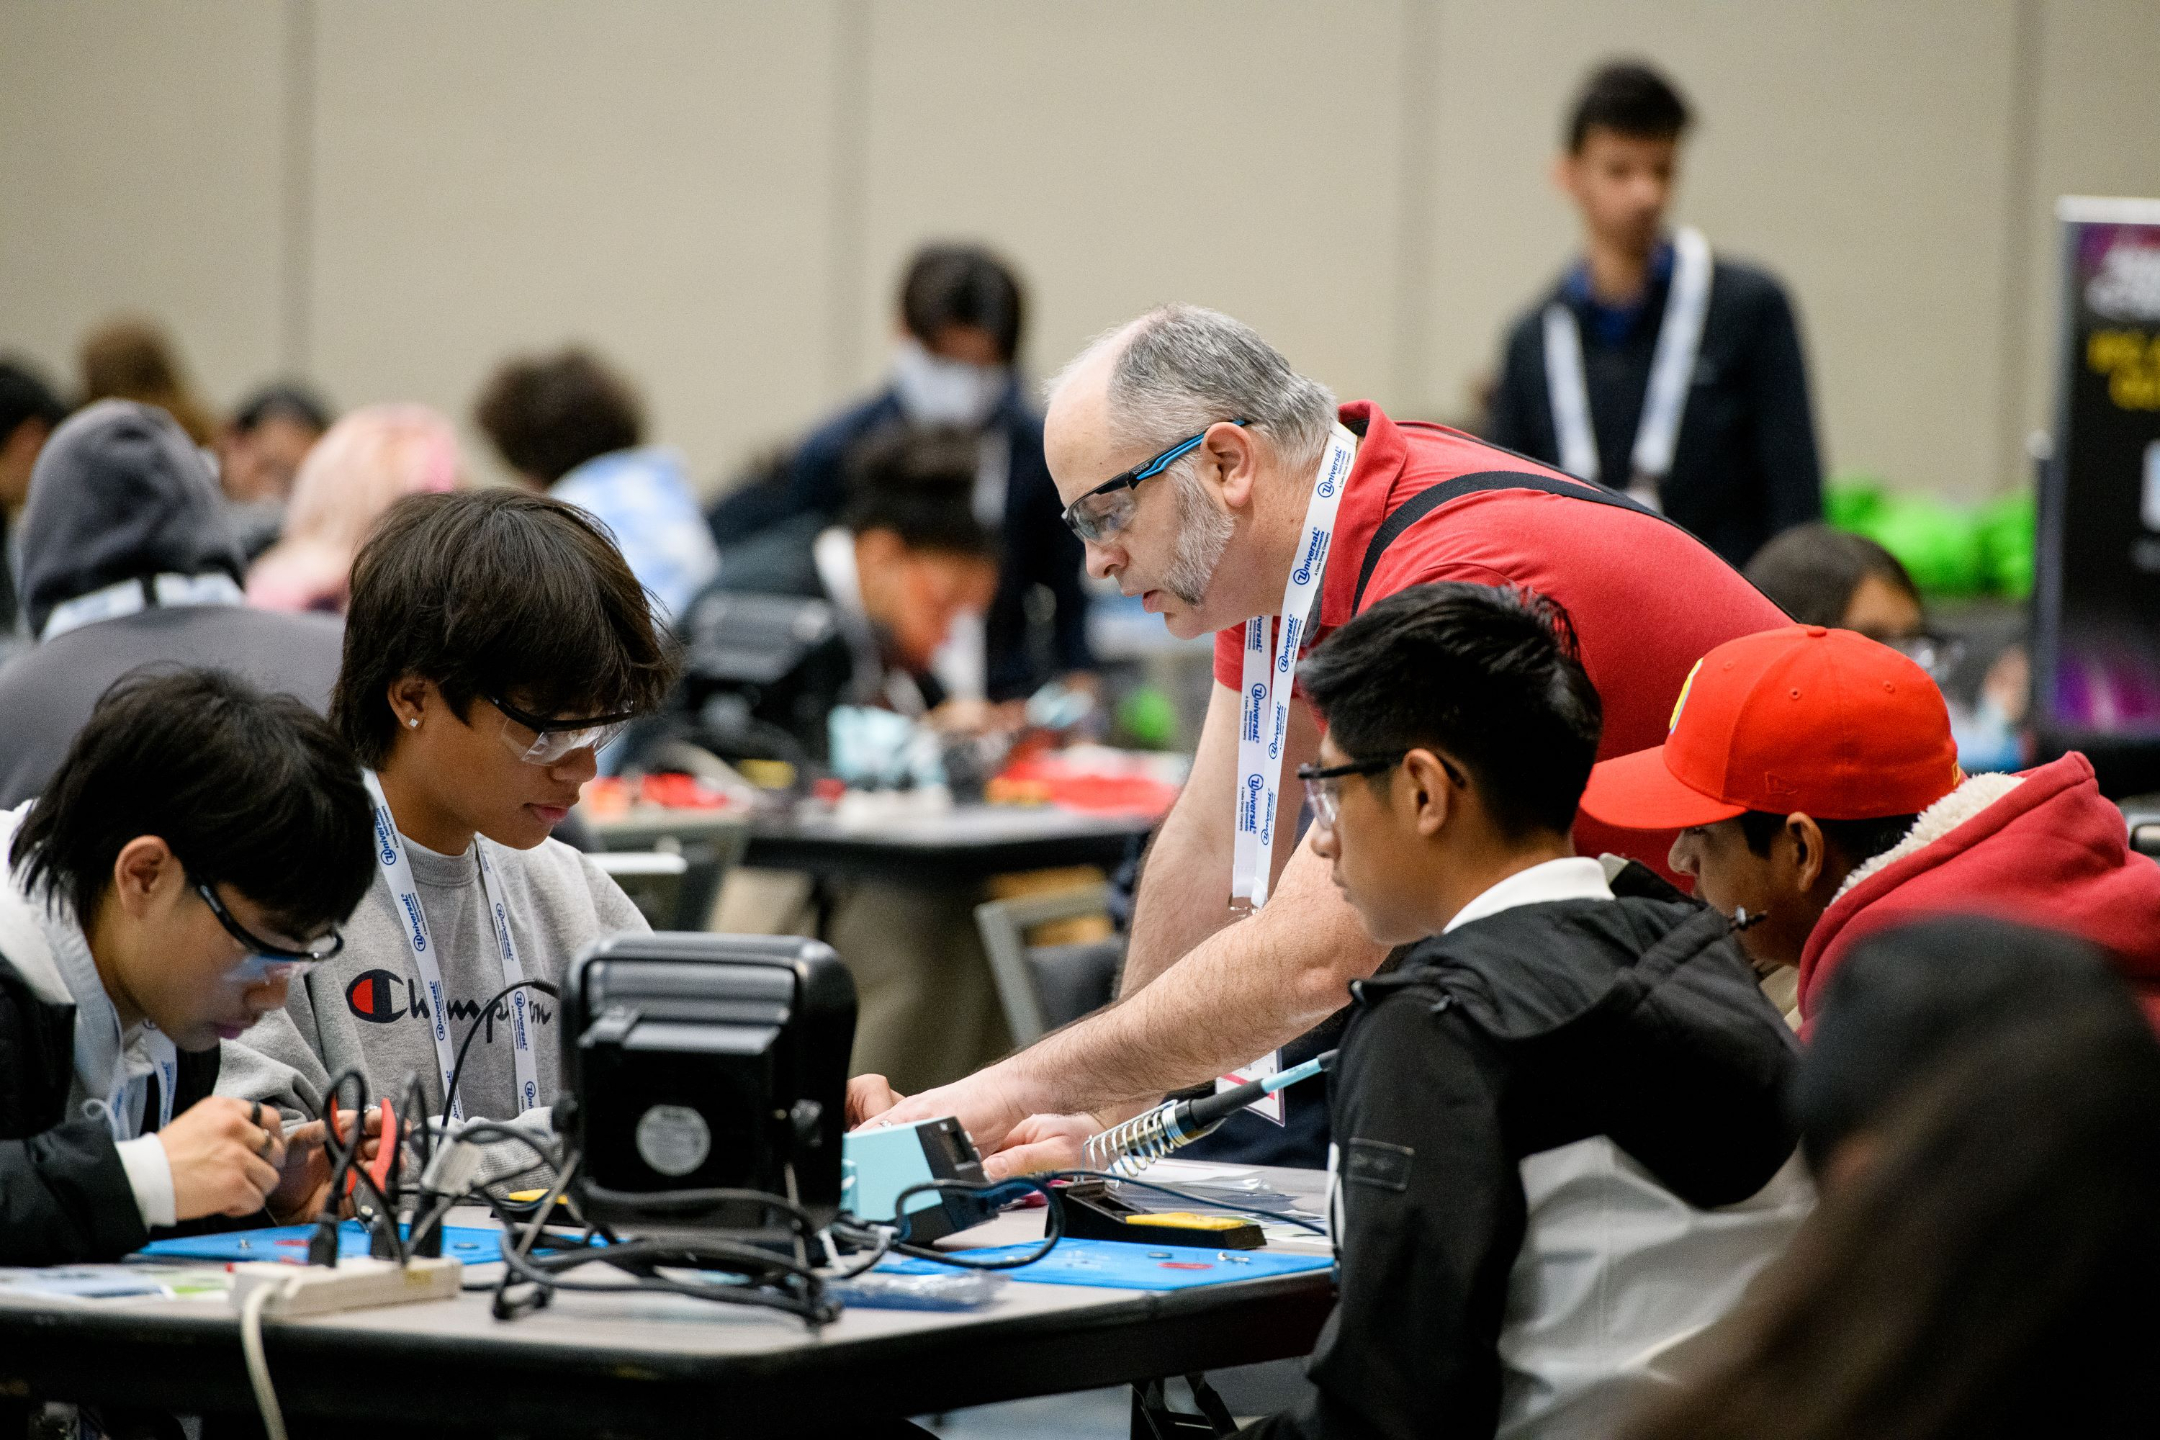
Ready to dive into the world of electronics? Our Soldering STEM Activity Kit gives you the chance to build real, working circuits while learning how to solder. This activity provides everything you need to start working with electronic components in a fun, safe, and hands-on way!
As you follow along with the instructions, you’ll develop important skills like precision, problem-solving, and teamwork. You’ll also gain confidence in electrical engineering, as you assemble actual circuits—skills that are valuable for future STEM careers!
This program is designed to spark your curiosity, encourage creativity, and give you a solid foundation in a key area of technology. Whether you’re thinking about a career in electronics, manufacturing, engineering, technology, or just want to try something new, this kit will help you build practical experience that’s perfect for the future!
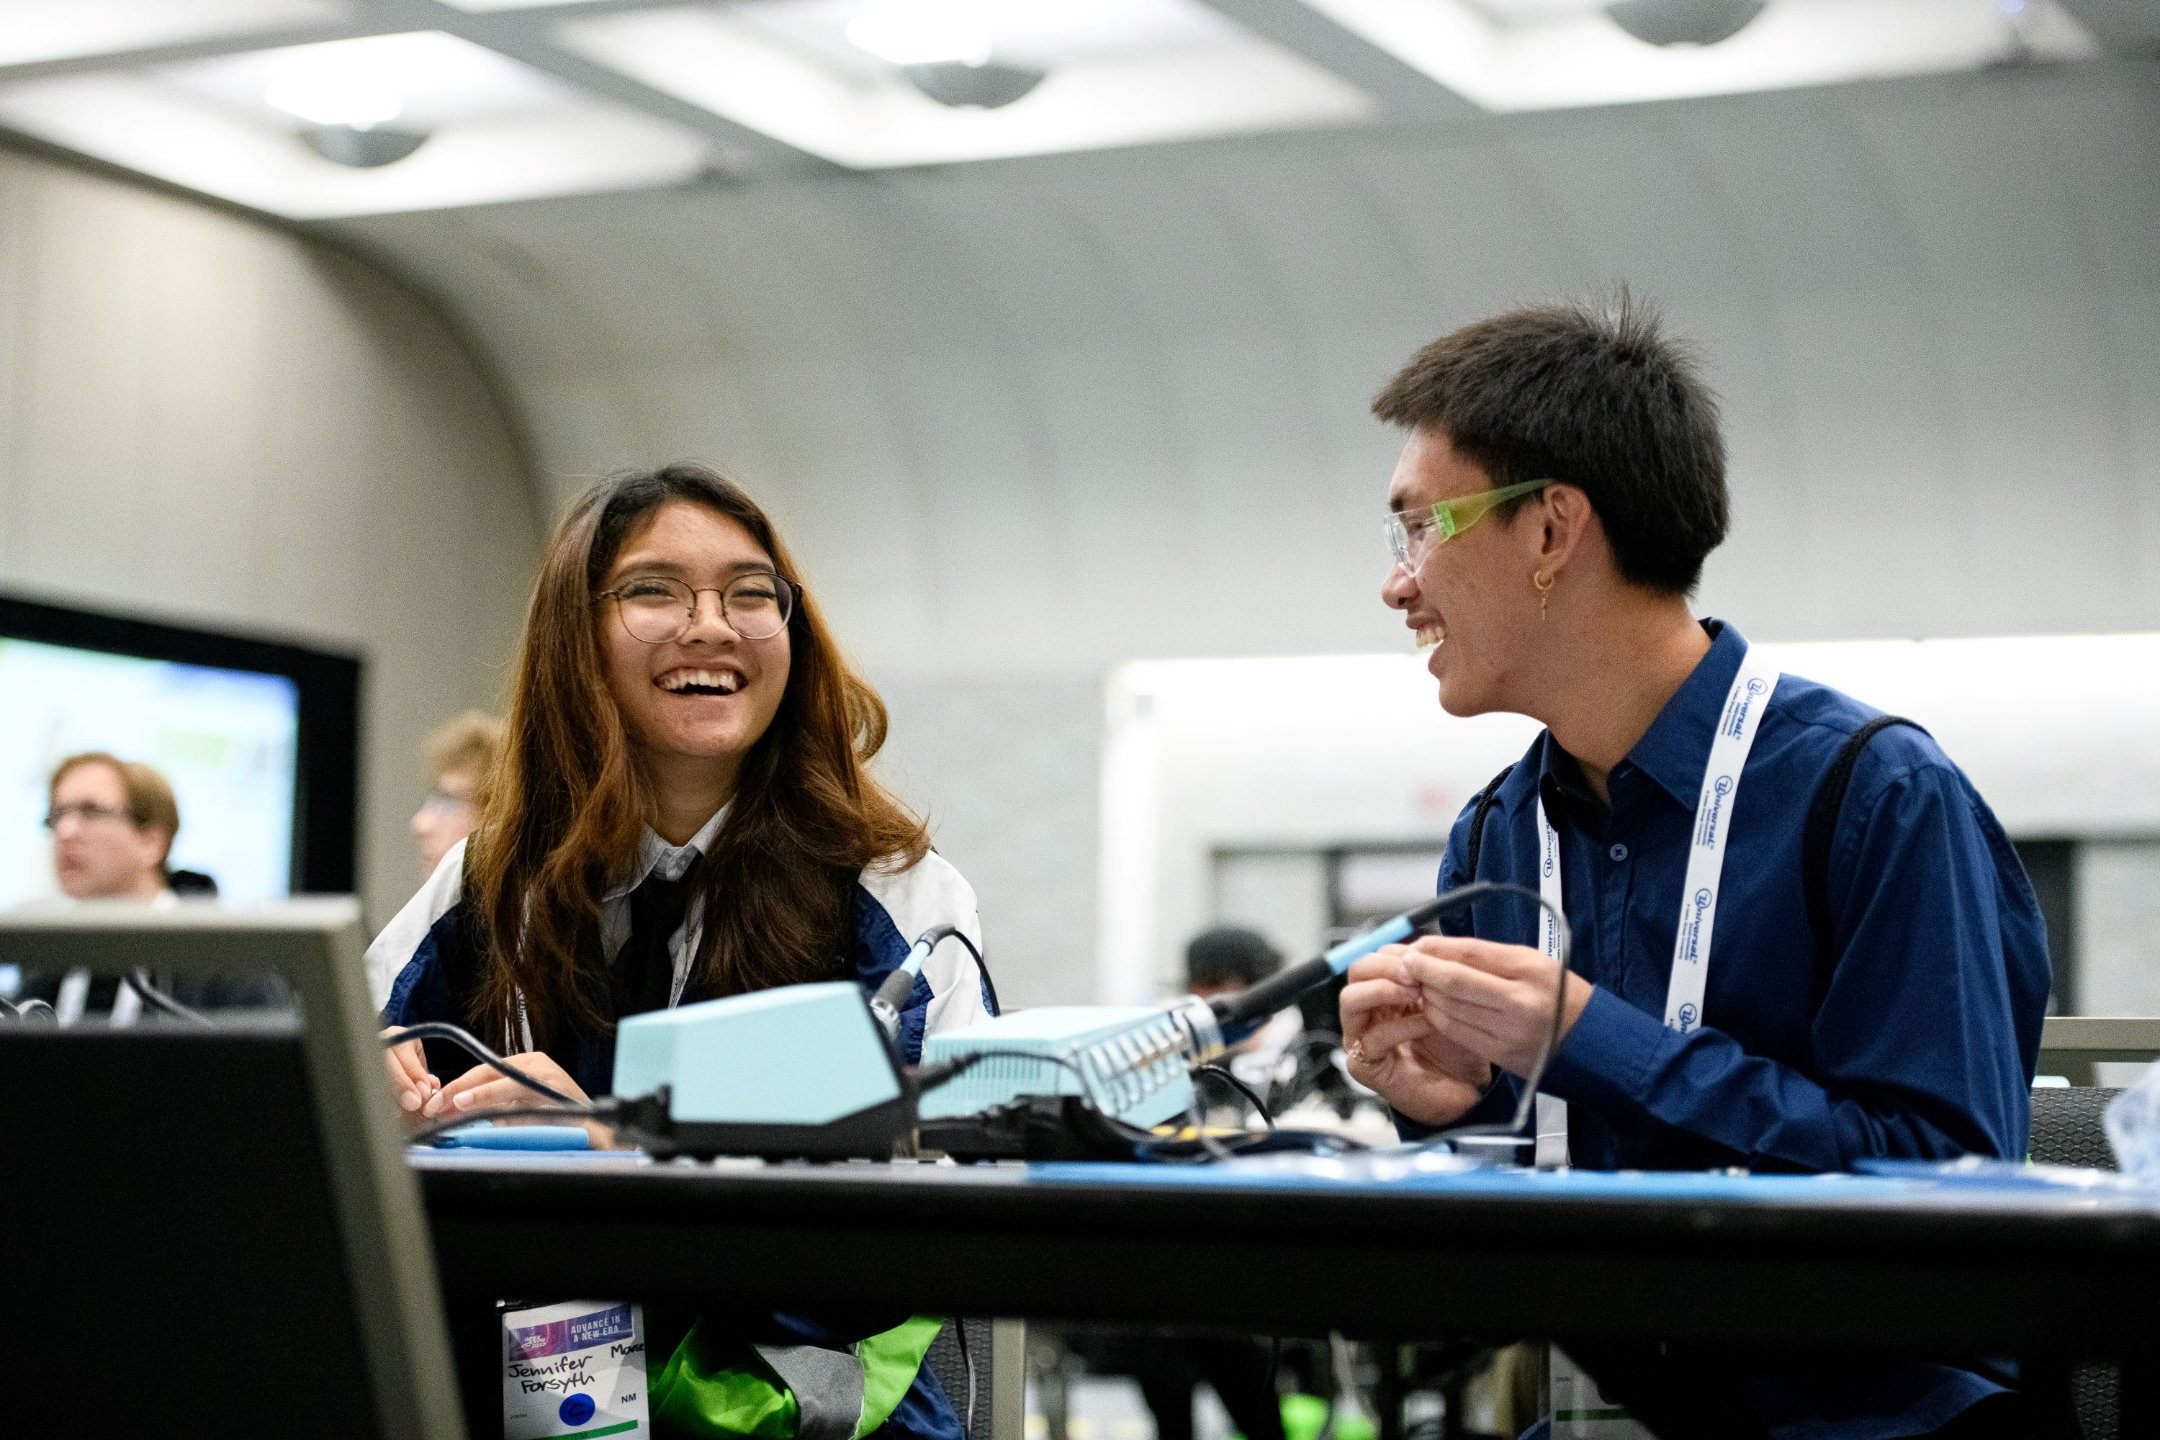
Solder. Snap. Share!
You did it! 🎉 Now, share your experience—What was the most exciting or challenging part? We’d love to hear your thoughts and any advice you’d give to future students!
⭐ Rate & ShareTestimonials

Emmanuel Pizano
Engineering Pathway Teacher at Mount Miguel High School
“In the past years that students have done this activity with IPC in San Diego, students love it! We would like to continue with this activity in coming years and interested in purchasing more kits. It is a perfect way to build confidence in students interested in this industry. Thank you so much for sending us this valuable resource.”

University of Kentucky
Srijan S
Electrical Engineering student at North Carolina State University
"I have learned a lot from this hands-on solder training session. I would like to have more of this training done at NC State. It will be helpful if the next session is about PCB Design."
Michigan Tech University
Phillip S.
Workforce Development Director - Commercial Leap Ahead for Wide Bandgap Semiconductors (CLAWS)
"The look of accomplishment on their faces when everything worked perfectly- that's what makes these workshops worthwhile. Seeing every single participant successfully light up their LED project was highlight of the day"

Auburn University
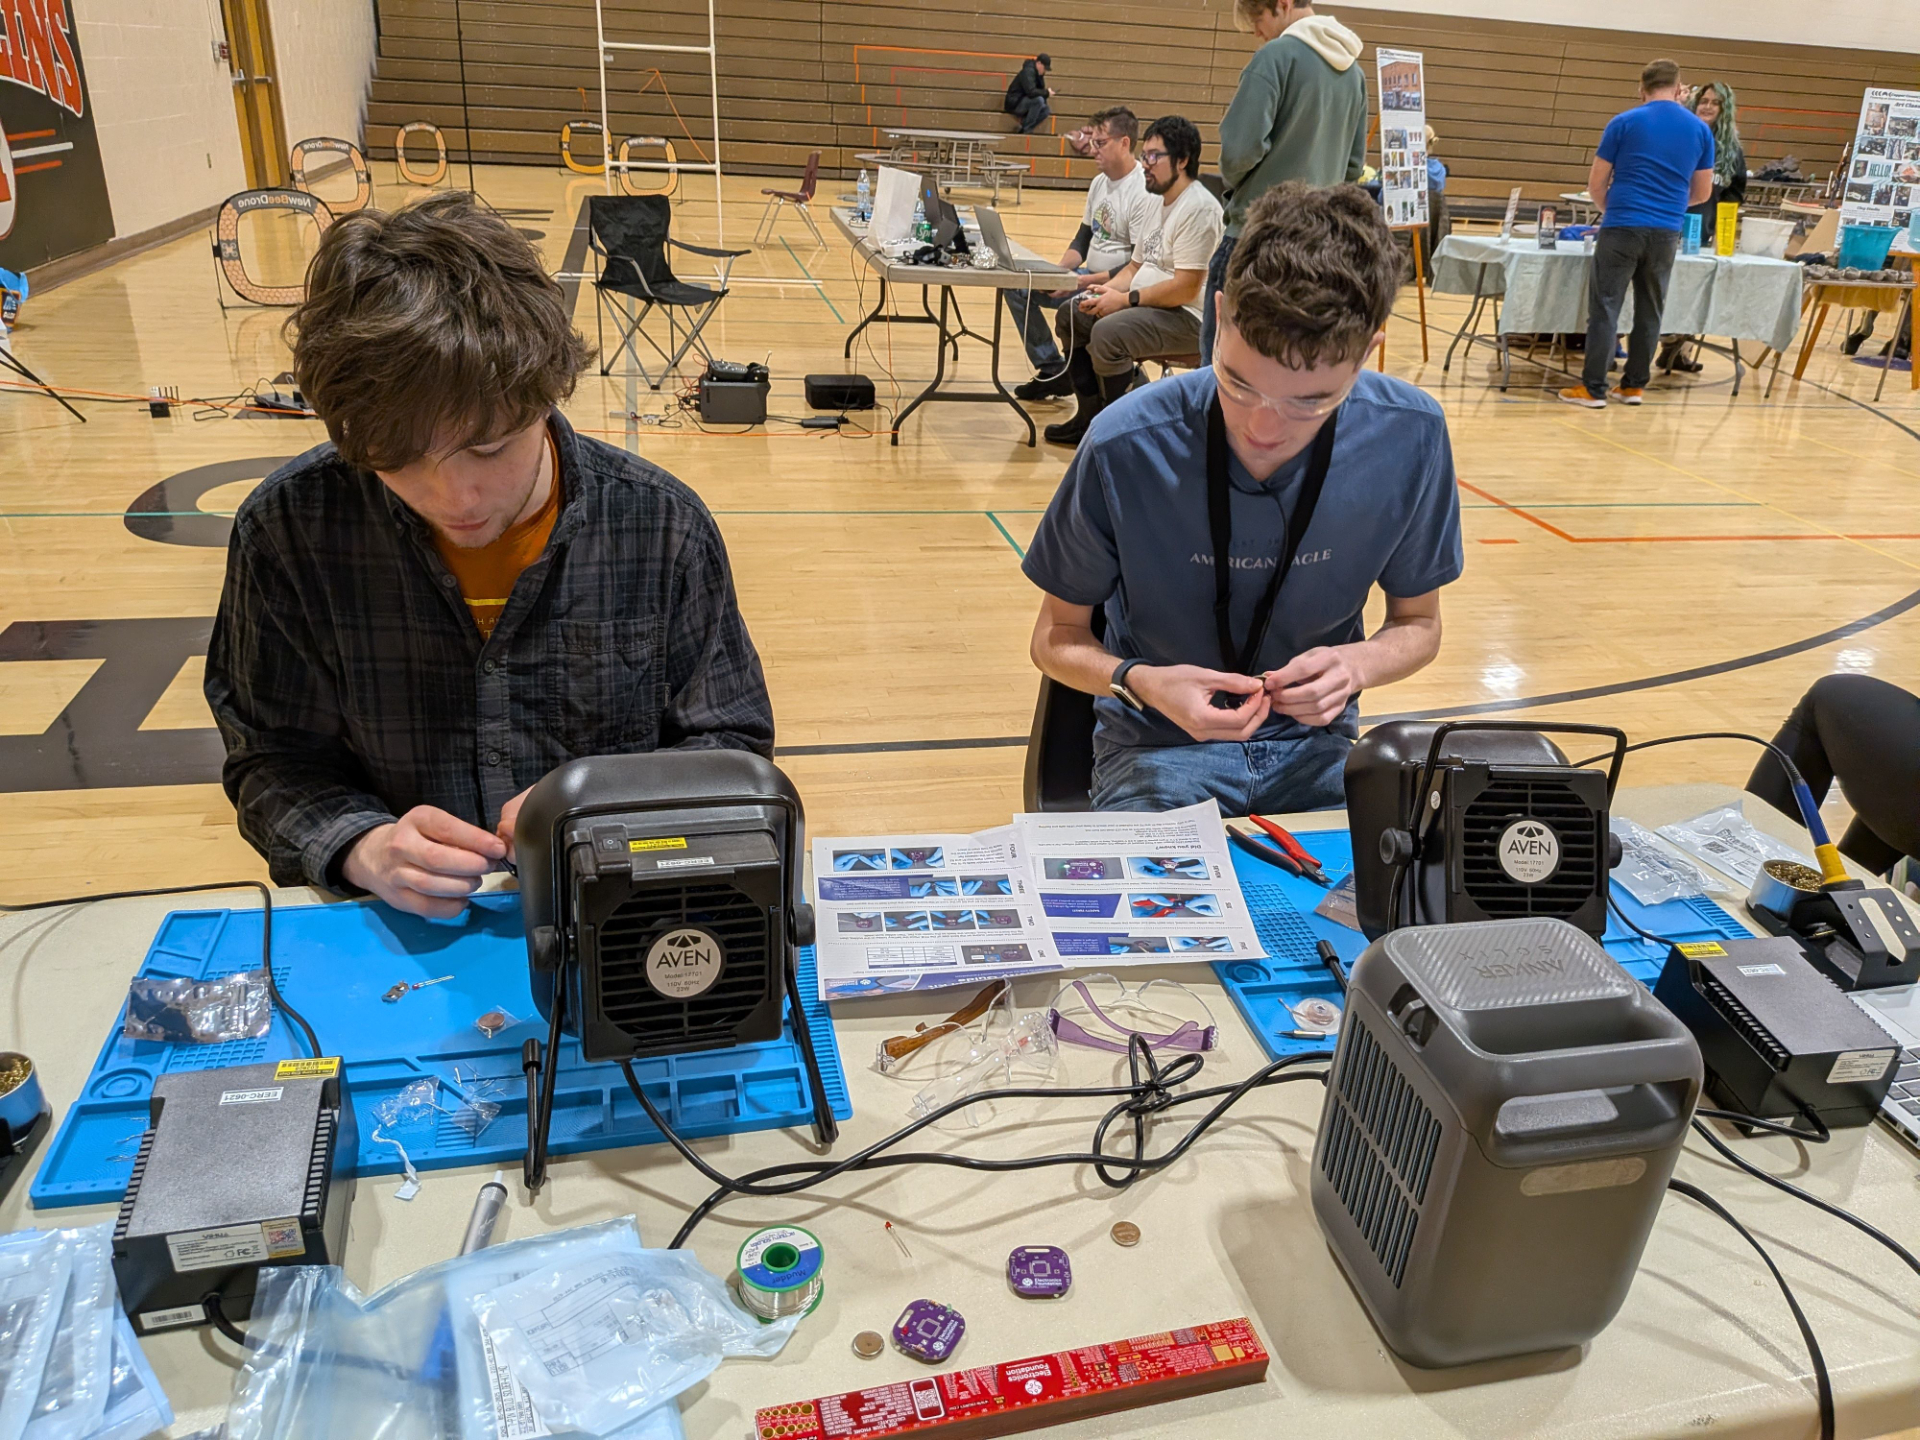
STEM in Action